Getting Started with Flexible Columns
Accessing Column Management
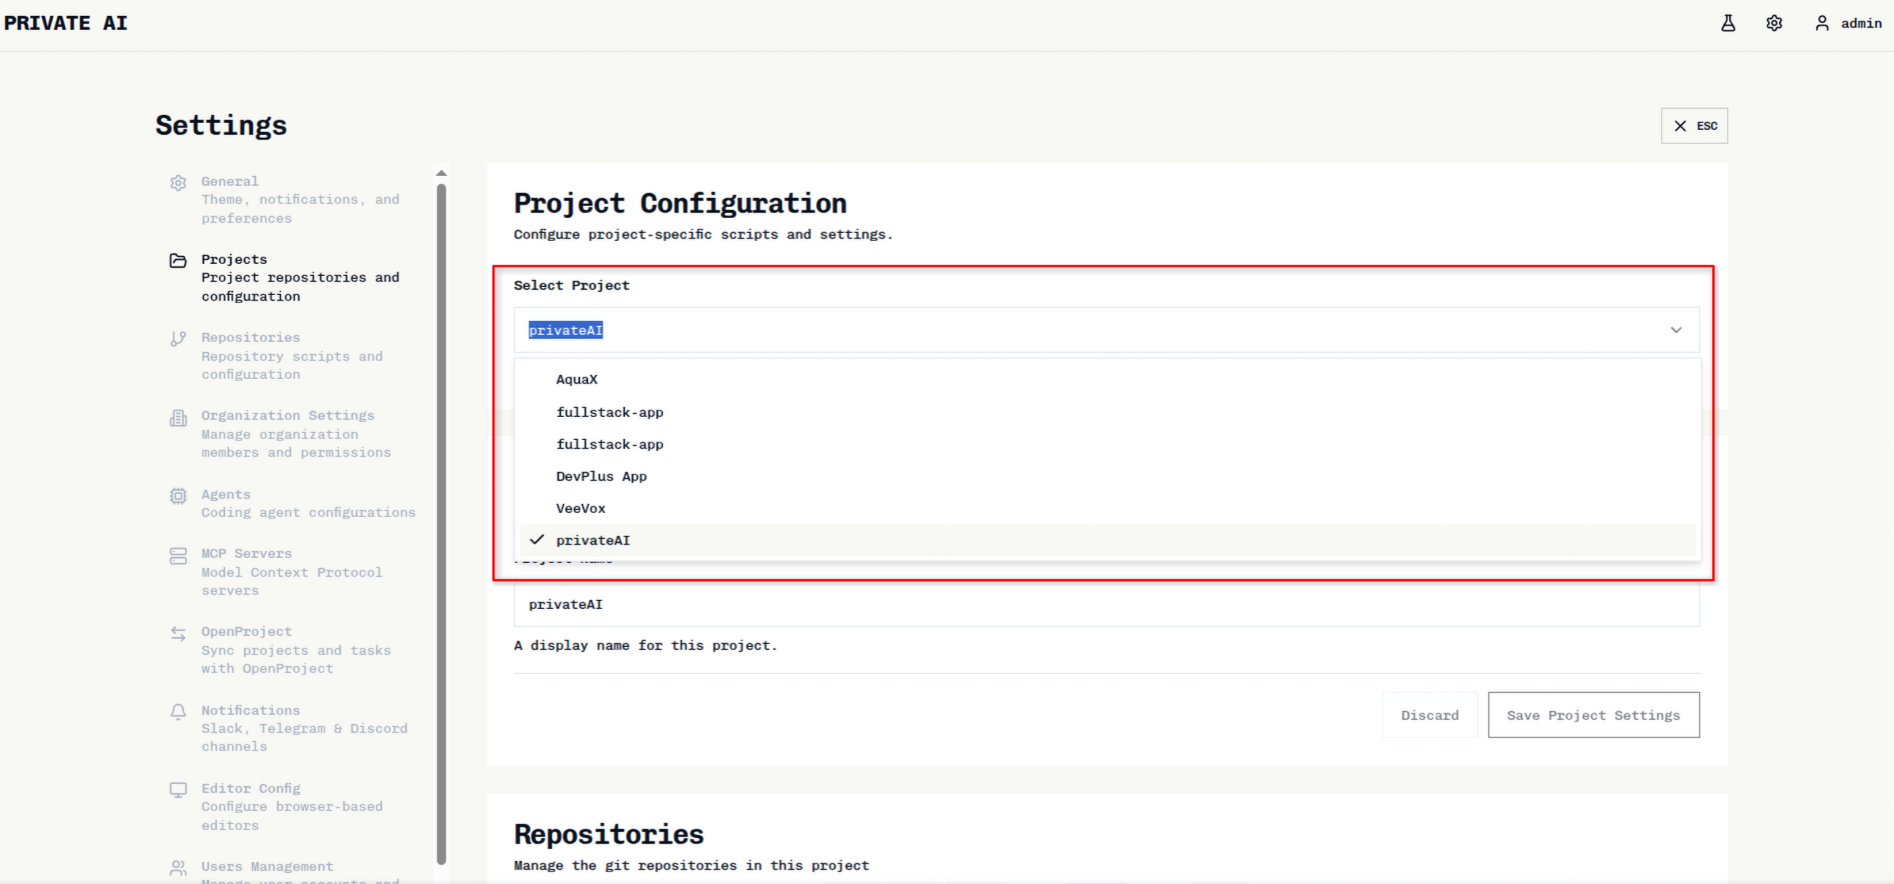
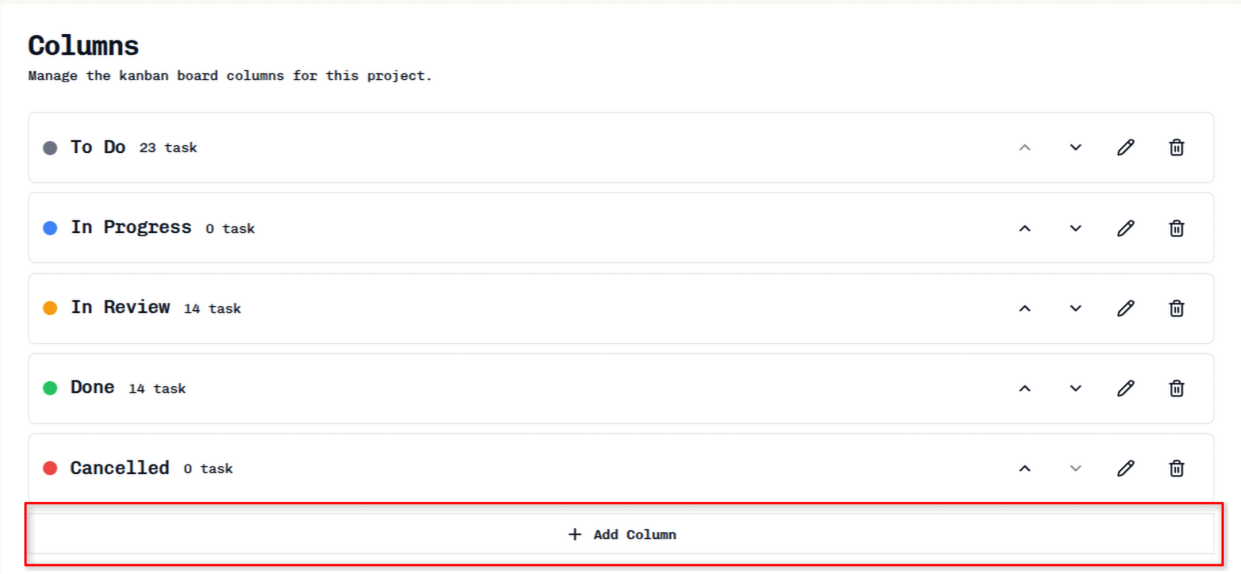
Viewing and Adding Columns
Configure Column Details
Fill in the following information: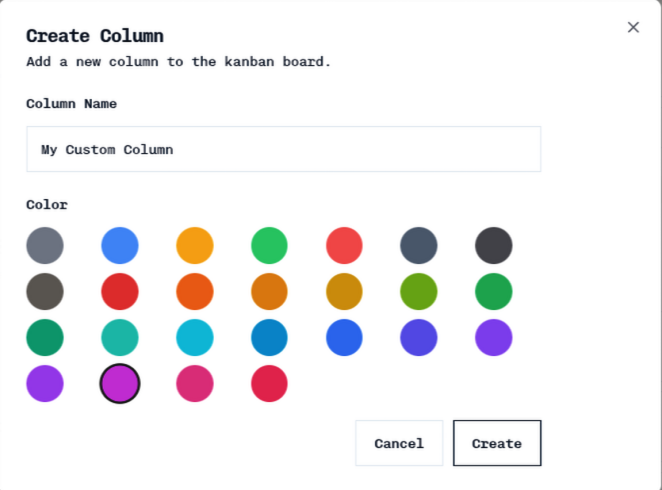
- Column Name: Descriptive name for your column
- Display Name: How the column appears on the board
- Description: Optional explanation of the column’s purpose
- Color: Visual indicator for the column
- Position: Where the column appears in your workflow
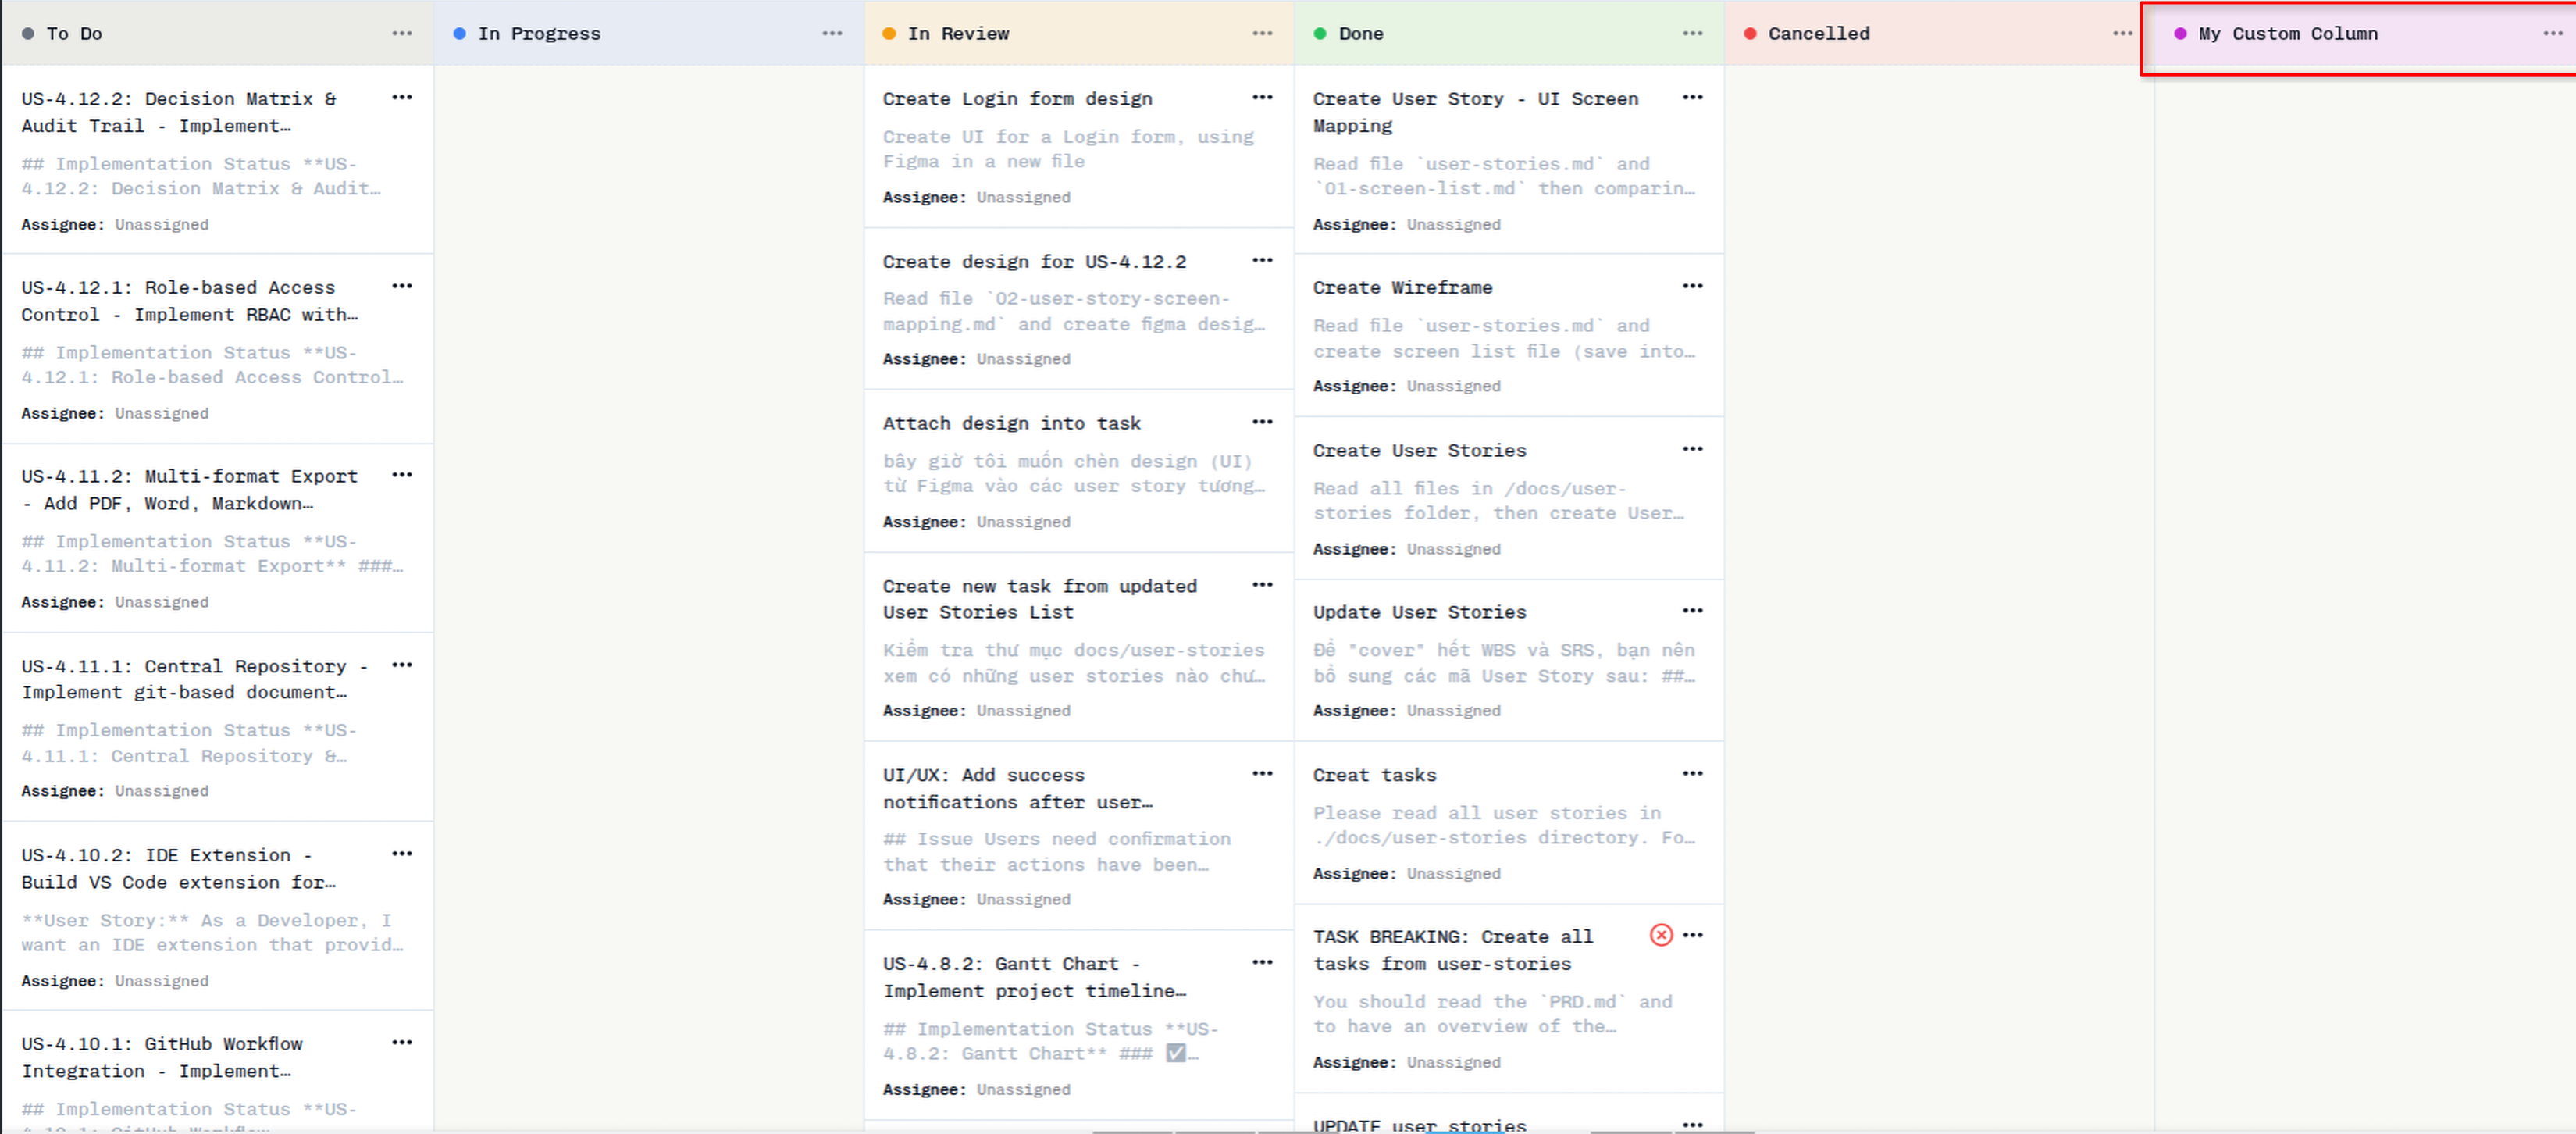
Your new column will appear on the task board according to its position setting.
Managing Existing Columns
Once columns are created, you can manage them using the action buttons: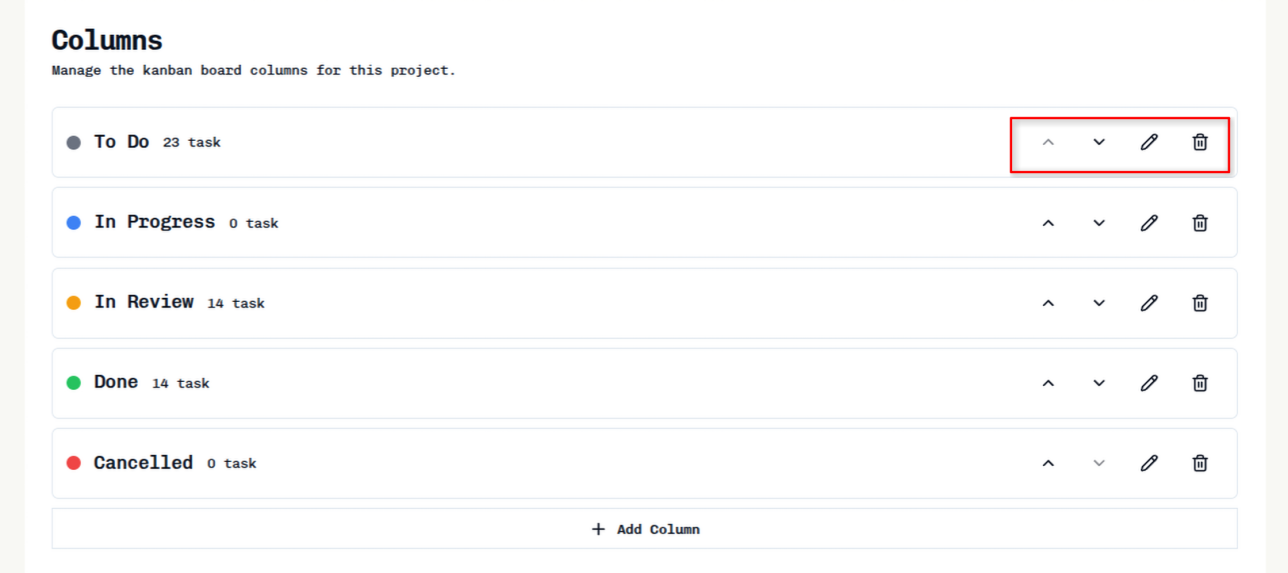
- Rearrange: Use the up/down arrow buttons to change column position, or drag and drop columns to reorder them in your workflow
- Edit: Click the edit icon to modify column properties
- Delete: Click the delete icon to remove a column (empty columns only)
OpenProject Integration
Flexible columns are fully synchronized with OpenProject when projects are linked between the two systems. Any changes made to columns in either Private AI or OpenProject will be reflected in both platforms.When a project is synced between Private AI and OpenProject:
- Column additions in either system are automatically synchronized
- Column updates (name, position, etc.) are synchronized bidirectionally
- Column deletions are synchronized, with appropriate handling of tasks
Best Practices
Troubleshooting
Column not appearing on board
Column not appearing on board
- Verify the column position is set correctly
- Check that you have saved the column configuration
- Refresh the page to ensure changes are loaded
Cannot delete a column
Cannot delete a column
- Ensure the column is empty (no tasks assigned)
- Confirm you have administrator privileges
- Check if the column is a system default (Backlog, In Progress, Done)
Tasks not moving between columns
Tasks not moving between columns
- Verify you have permission to edit tasks
- Check if there are any workflow restrictions in place
- Ensure you’re dragging tasks completely into the target column